
Backdrop banners are excellent showpieces that lend professional flair to events. They can also be surprisingly portable. Each one packs into its own carrying case and can be ready for quick assembly at a moment’s notice. The following backdrop banner set up instructions show just how easy the process can be.
Backdrop Banner Assembly Instructions
Setting up backdrop banners is simple. Consult the provided graphic for more information and additional instructions for backdrop banners assembly.
- Remove all contents from their carrying case. Set aside graphics, telescopic crossbar poles and securing knobs in a safe place.
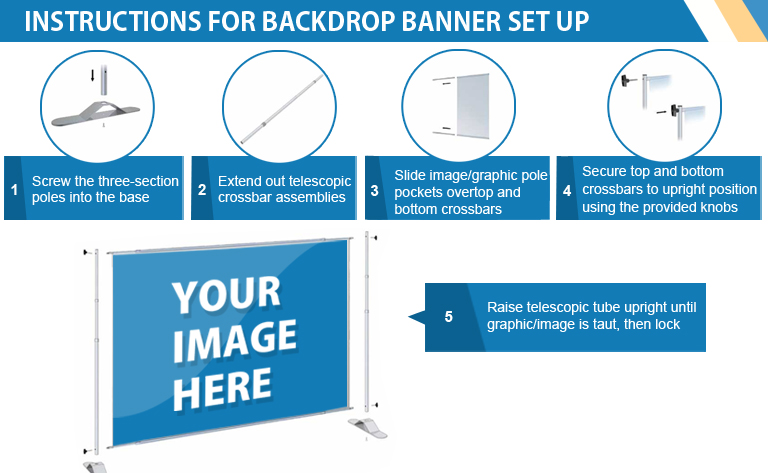
- Assemble base and side supports. Two thick three-section side poles provide support for the graphics and crossbar. Begin by assembling each three-section pole into one solid pole, ensuring that each join is tightly screwed together. Then, screw the bottom threads of the side support poles into the base feet.
- Prepare graphics assembly. Extend the telescopic crossbars fully and unfurl the graphics on a soft, dry surface.
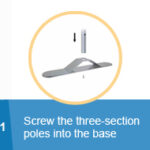
- Insert crossbar supports into graphics. Whether using fabric or vinyl backdrops, the graphics portion should have pockets located at the top and bottom. Slide the crossbeam supports into these pockets, taking care not to collapse the telescoping portions during insertion.
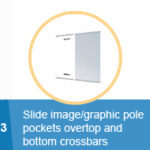
- Secure crossbeams into side support sections using tightening knobs. Tightening knobs insert into holes through the sides near the top and bottom of the side support beams. Each knob’s threaded pin should reach through the side beam and expose enough thread to screw into the graphic/crossbeam assembly. You will likely need at least one other person to assist with this step to secure the two top knobs at the same time.
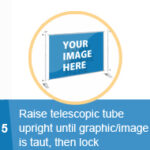
- Adjust until graphics are taut. The side support beams and crossbeams can adjust to pull the graphics tight. You can then lock them in place for the duration of display.

Backdrop Banner Disassembly Instructions
To disassemble the backdrop banner, follow assembly instructions in reverse.
- Loosen supports. Add slack to the graphics by loosening the telescoping portions of the side support beams and partially unthreading the crossbeam portion.
- Remove crossbeams and disassemble graphics. With assistance, remove the top and bottom crossbeams from their tightening knobs and slide the telescoping beams out of the graphics pockets. Wipe off any dirt or residue before rolling up the graphics for storage. Collapse telescoping beams for storage.
- Remove and disassemble three-section side support poles.
- Pack everything neatly into travel case, taking care not to puncture or put pressure on graphics.
Benefits of Backdrop Banners
Backdrop banners provide many benefits when displayed:
- Add branding to any location
- Provide photo background to get the most out of press coverage
- Broadcast campaign messaging or branding values effectively
- Transform spaces into exciting venues
- Promote events, items, products, people or media properties in a colorful and eye-catching way
- Make your booth stand out at trade shows
- Travel-ready designs allow for rapid deployment or disassembly
AZ banners can quickly fill orders for custom backdrop banner printing in Phoenix, helping generate perfect designs before printing and shipping your backdrop banner in as little time as possible. Have your backdrop banner ready in time for your next big event by placing your order today.
_______________________________________
Contact the custom backdrop banner experts at AZ Banners to get started today! Request a quote online or call 480-718-0544 now!
Read related articles:
- Easy Feather Flag Assembly Instructions to Setup Quickly
- 6 Events Where Sponsor Backdrop Banners Are Set Up
- Most Effective Grand Opening Banners and Signs